Category: Free Inquiry (Page 1 of 2)

This is the category to apply to your Free Inquiry posts.

Reflecting on free inquiry and this course

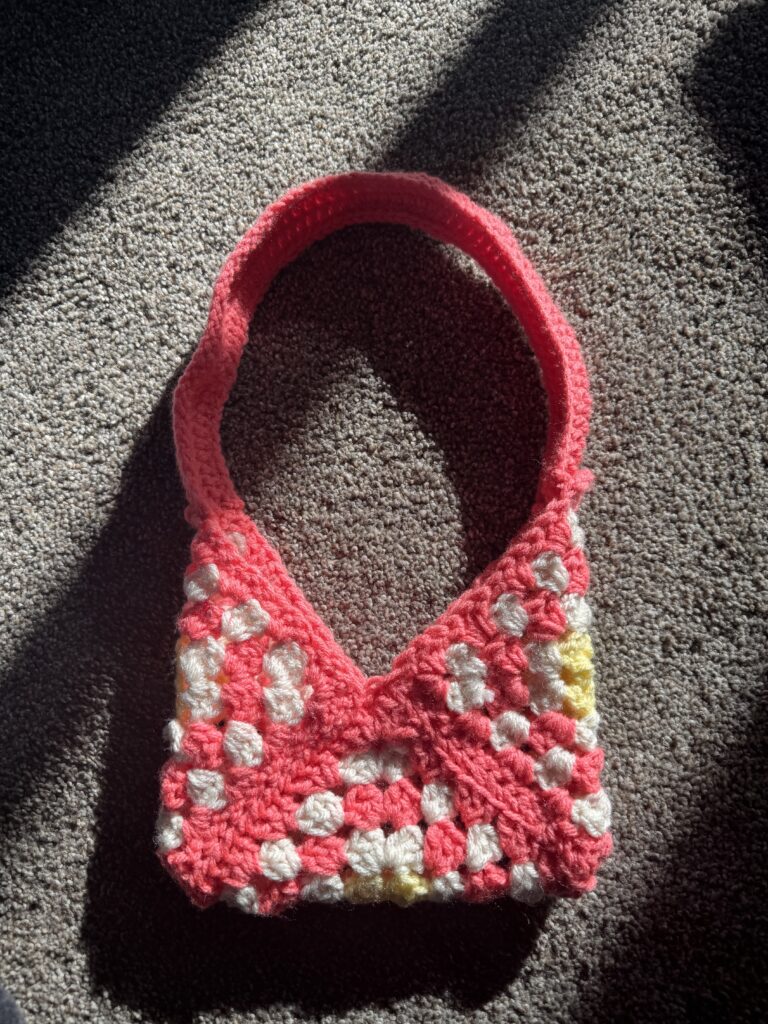
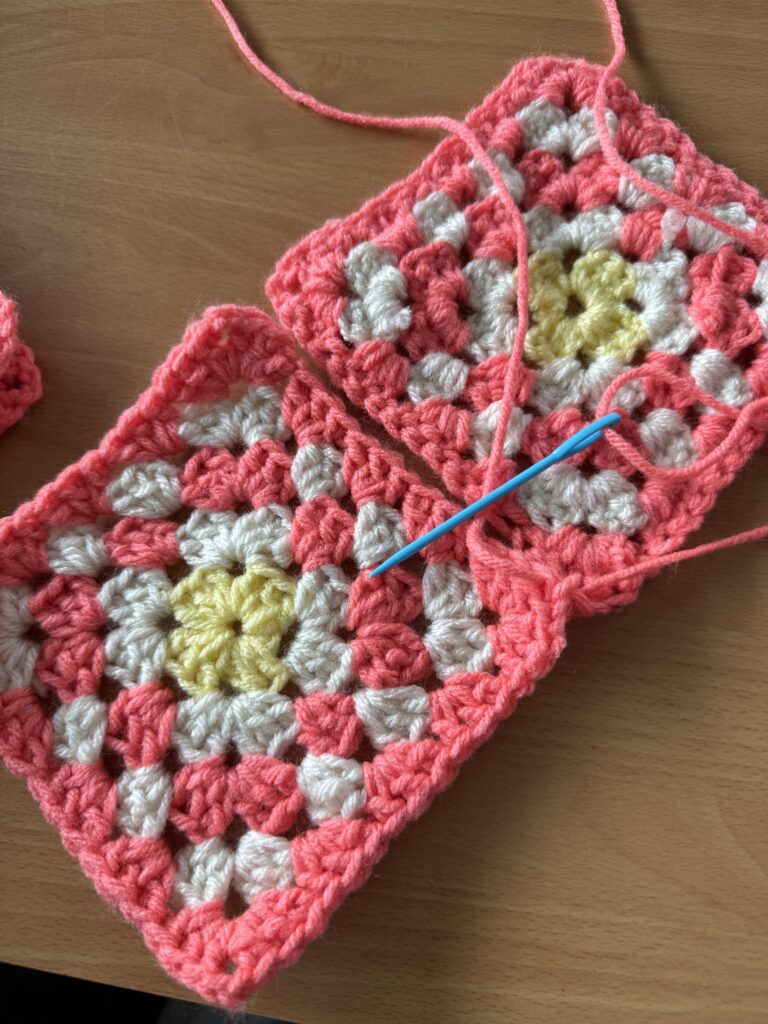
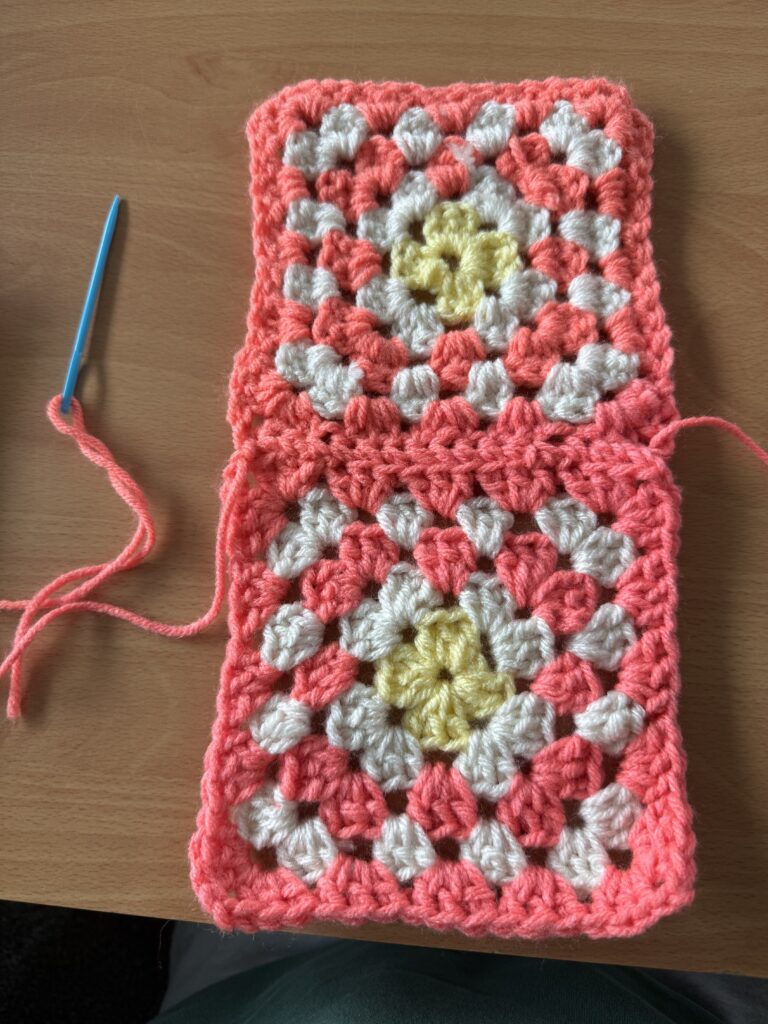
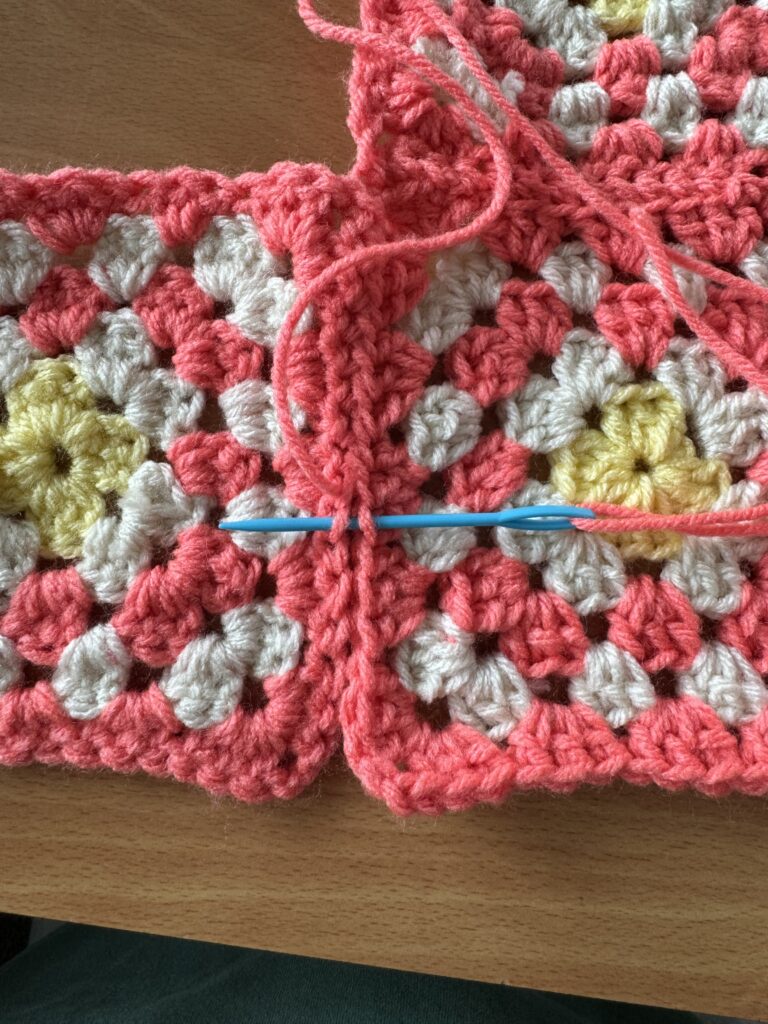
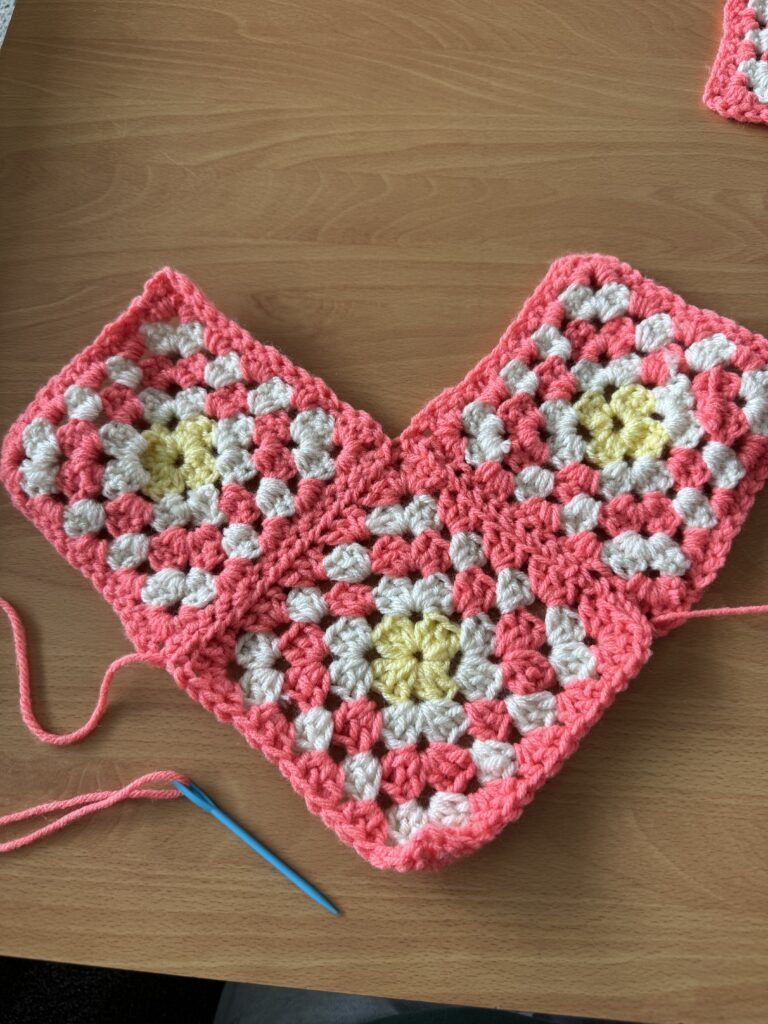
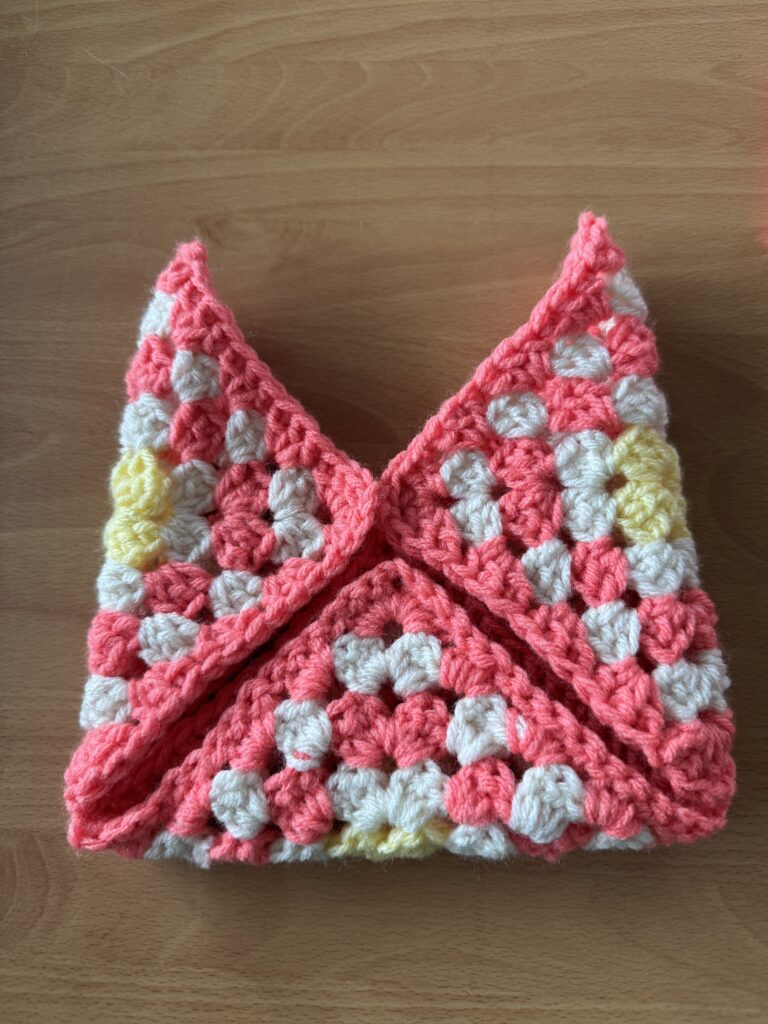
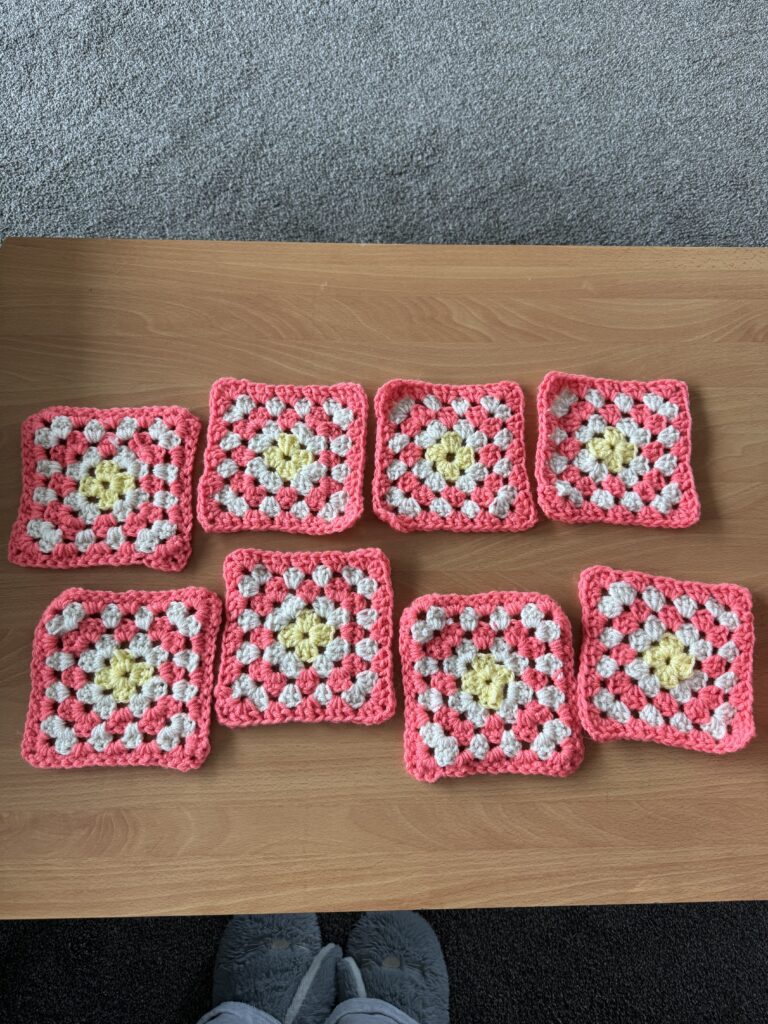
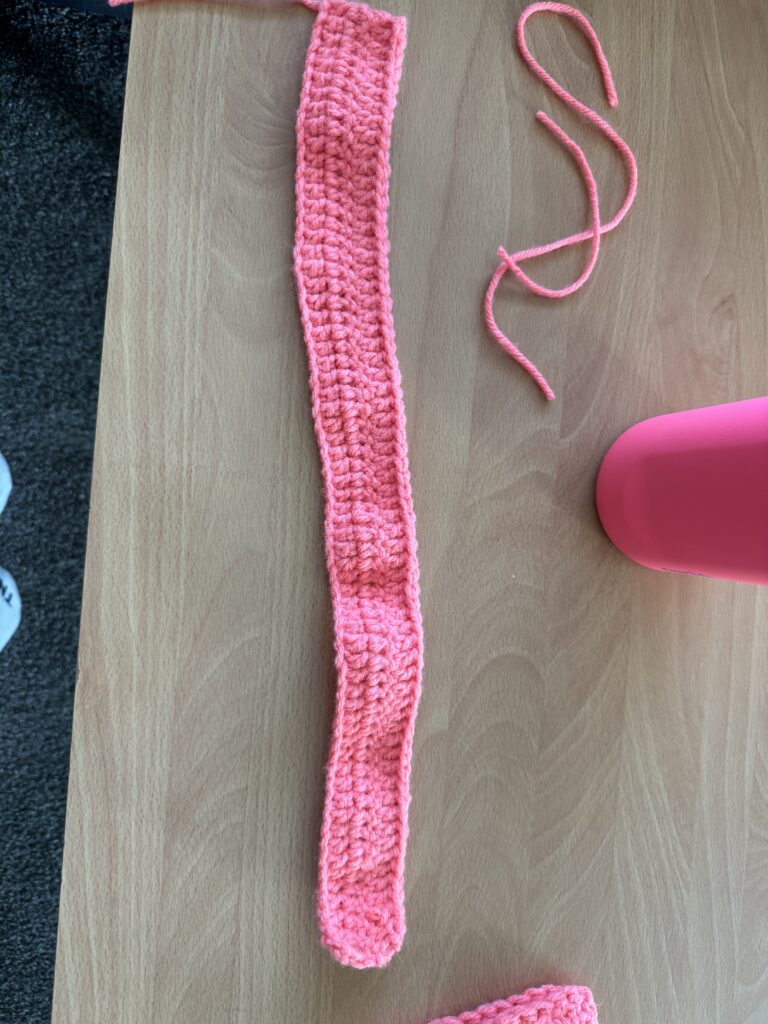
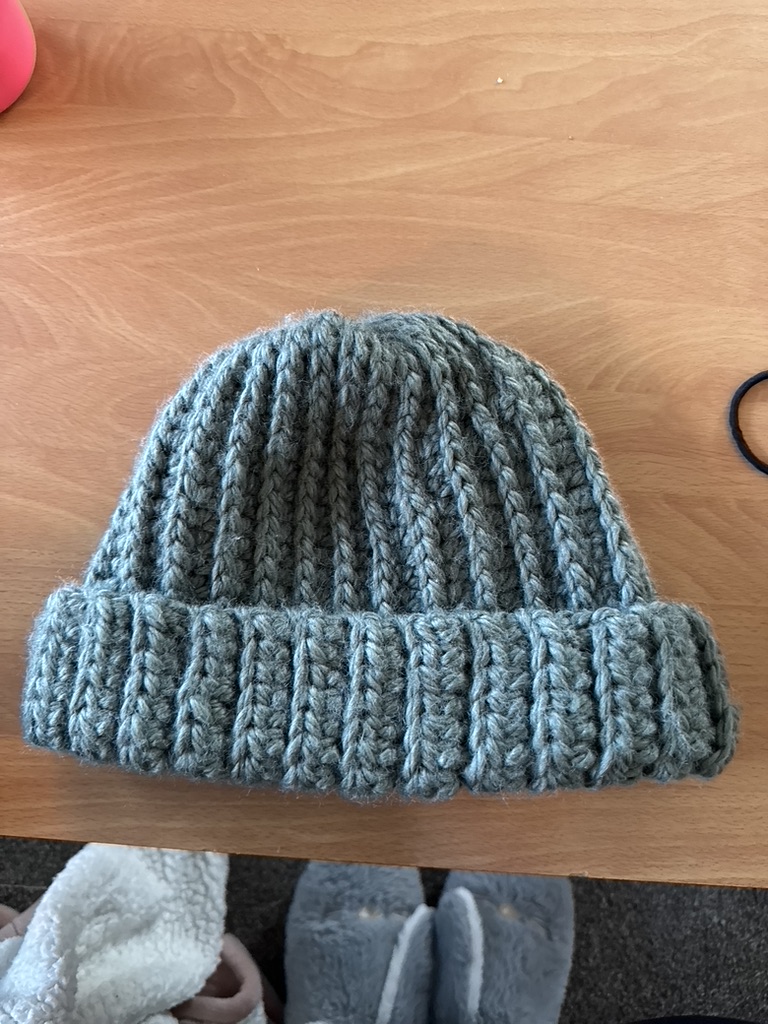
EDCI 336 was a really informative class, structured significantly differently from other courses I have taken. While studying psychology throughout my undergrad, I became very familiar with the structure of the courses and what was required to do well in a course. I could prepare a really well-written essay in as little as a day, knew how to do well on exams and understood how to follow a rubric to create good projects. Being in this class and many of the others in the post-degree program, I was thrown by the idea of a pass/fail course. I didn’t exactly understand what it meant, what it looked like and how I could “do well”. Additionally, I had never had the opportunity to pursue projects that interested me or to present my findings in ways that make sense to me. UDL is really cool! I feel I learn better when I am actually passionate about what I am doing! Getting to complete this inquiry project was originally quite daunting. No firm deadlines, open to any topic and getting to share our journey creatively was unlike anything I had done in school before. Although I was originally a bit anxious about this project and honestly, the whole tech course, it quickly became one of my favourites! Working on this project was fun and engaging, and getting to share my progress was really cool. I enjoyed getting to share the process rather than just the final project. It is cool to look back on the inspiration phase and compare it to my final project. 

This was a really cool project and one that inspired me to continue with crocheting, but also to continue pursuing my passions and the things that interest me. In my career as a teacher, I hope to implement different ideas from this course in my own classroom and hopefully inspire students to pursue their interests. UDL is such a powerful tool, and getting to experience some of its aspects has encouraged me to do more research and discover methods to include in my teaching practice. 

My Finished Project!

After sewing my squares together and adding the handle, i have finally finished my granny square purse!

here it is:

I am really happy with how it turned out and I am excited to use it!

The Invisible Stitch Method

After my research, i decided to use the invisble stitch method to attach my granny squares:

here I have attached all three granny squares and can finally see my purse coming together!

Next step is to attach the handle and then my project will be complete!

Connecting Granny Squares

Now that I have finished my granny squares, I need to sew them together to form my purse. I have never done a project like this so I had to do some research to figure out how to sew the pieces together. 

From my research there are different ways you can join the squares together:

  1. The invisible seam stitch:
  • A quick way to join granny squares with a crochet needle. 
  • It leaves you with a flat seam and gives a fused at the edges look. 
  1. Single crochet and slip stitch method:
  • Leaves you with a lacey, seamless edge on both sides of your project.
  • Use a crochet hook not a needle.
  1. Join-as-you-go method
  • Seamless look and less ends to weave in 
  • Better for making larger projects such as blankets or throws. 

Granny Square Update!

I have now finished all 8 granny squares!

 Looking at my inspiration pictures, I think I would like to make a smaller purse as opposed to a tote bag. With the 8 granny squares, a tote bag could be possible, however, it would be smaller than I would want. So, I think I will try making a smaller bag, something similar to this: 

the last step before I can sew my pieces together is to make a strap. As I am not following a specific pattern for this project, I decided to make the strap with the skills i have already learned. To do this, I started by chaining 45 then doing 2 rows of half double crochet stitches. For the last row, I did a slip stitch to make the edge the same as the first row. Here’s how it turned out:

Next step will be sewing it all together!

Starting My Project

My yarn order has arrived and I am now able to begin my project!

Following the granny square tutorial linked in a previous post, I started making granny squares with my new yarn.

Here I have completed the fisrt set of stiches

Here is a video of me completing second section of stitches:

to complete the rest of the square, you follow the same pattern switching colours each round. here is my first completed granny square!

Gathering Materials

After practicing my granny square technique, I feel confident to start making my tote bag! Yarn can be expensive depending on where you purchase it and the materials it is made out of. As this s my first big project and because it is a bag, I am choosing to use an acrylic yarn as it is more cost effective and surprisingly, Walmart has a large selection of colours making it really accessible! 

I went to check out Walmart for yarn and although the yarn section was extensive, I found they had many more options online, so I chose to order them. 

Here’s what I picked: 

Additional materials needed are a hook and a crochet needle. There are many different sizes of hooks and the size needed depends on the size of the yarn and your crochet style. This video provided a great overview of how to choose the appropriate hook.

With the yarn I’m using, I will need a size 5mm crochet hook which thankfully, I already own! I also have a crochet needle so as soon as my yarn arrives, I will be ready to start! 

Granny Squares

After gaining some inspiration, I would like to try making a bag using the granny square technique. Granny squares are very versatile and can be made as big or as small as you want. They can also be used for many different projects. I have seen projects using granny squares to make sweaters, blankets and bags. 

I have found that it is difficult for me to learn without a visual reference therefore I decided it would be helpful to follow a YouTube tutorial.  I found a YouTube tutorial that provides a beginner tutorial for making granny squares and found it easy to follow! Using some scrap yarn, I attempted to make my first granny square!

This is the tutorial I followed.

This was my fisrt attempt at making a granny square! It took me a few tries to get the hang of it and looking at the grey layer, the sides are not straight like they should be but I am happy with how my first attempt came out!

Picking a Project

To find a project want to begin I found it useful to look at Pinterest to find some ideas! I’m having a difficult time choosing a pattern I want to follow however, I think I am interested in making a bag. I like the idea of a bag, either a small purse or a tote bag because  I know I will use it. Here are some photos of projects I am considering:

Inquiry Project: Crocheting

For my inquiry project, I would like to develop my crocheting skills by following more challenging patterns. I have been crocheting for almost a year but have focused on simple patterns such as towels, scarves, and toques which generally only require one type of stitch that repeats for the whole project. For this project, I would like to challenge myself to create something larger with more than one type of stitch and I would like it to be something I will use.

This is the first tuque I made!

« Older posts

© 2025 EDCI 336

Theme by Anders NorenUp ↑